

The first thing you need is a very messy workspace!

Any pair of scissors will work, but I highly recommend a small pair of spring loaded scissors because it will save your hands.

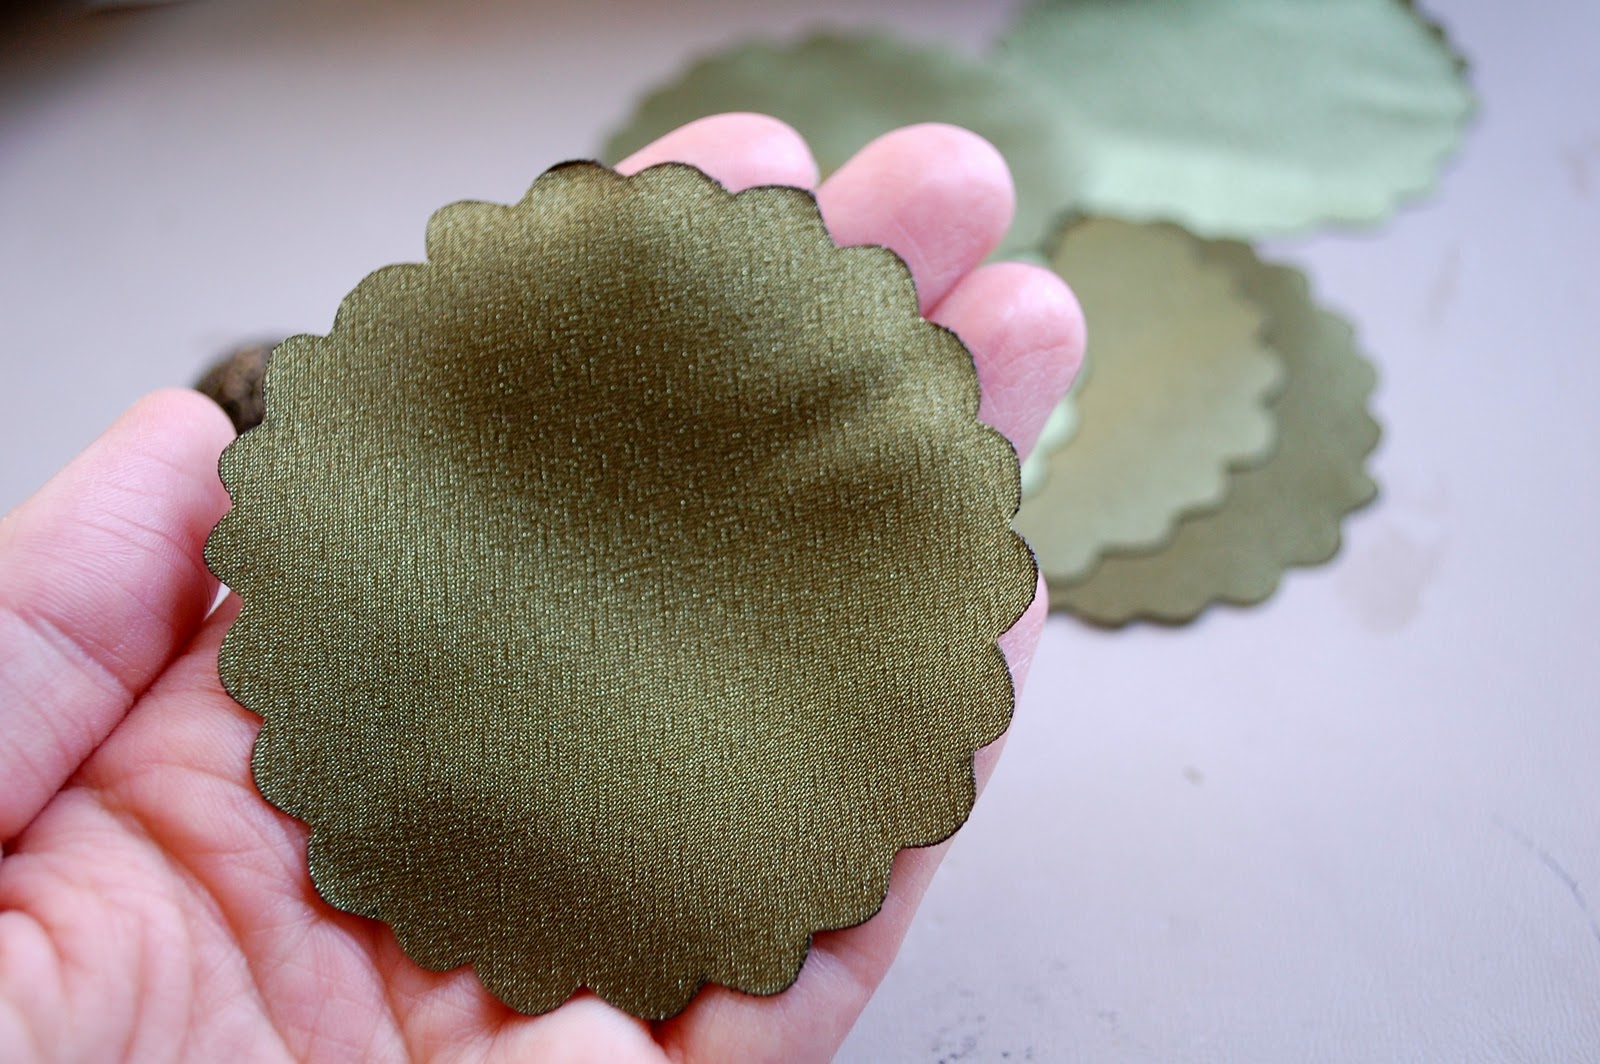
The pattern for this flower is just a scalloped circle. If you have a fancy cutting machine than you probably have a template for something like this, otherwise find a cup that you can trace and then hand draw the scalloped edges. You really do want to make sure that the circle is uniform though (I found that out the hard way) You will notice that some of my flowers have gaps inbetween each section.
For my older daughter I made flowers that were pretty big using this pattern.

For the younger two I made flowers that were just a little bit smaller using this pattern.

The first thing you need to do is trace and cut out 8 fabric circles. Then you need to use either a lighter or an embossing tool and melt the edges a little bit so they don't fray.
Fold each circle in half and then in half again so it looks like a piece of pie. You can either hand sew each wedge closed, or if you are lazy pressed for time like I am just put a small dab of hot glue down by the tip.

Then glue two of the wedges together, one on top of the other.

When you have all four wedges glued or sewn together, cut out a small circle of felt and glue down your first wedge with the tip in the center.

So I kind of stopped taking pictures for a few steps but they are easy so I'm sure you can figure it out. Glue down the next wedge right next to the first one and then continue around the circle until all four wedges are glued down in a circle. The last two steps are to glue some sort of button in the center on top and then flip it over and glue on a clip.

When I did Laila's flower for her pictures I also cut out a circle of tulle and also glued that to the bottom of the circle. Then I made this one for my daughter Samm that actually incorporated the tulle into each wedge.

If you make one like this, don't cut out eight circles of fabric and then eight more of tulle. Just pin the fabric to the tulle and cut them out at the same time.

Place the tulle circle on top of the facbric circle.

Fold it up like normal and finish it off like I just explained.

You can clip these flowers into their hair or on a headband like I did for Laila, or you can do what my girls did and make a flower crown!


3 comments:
These turned out really cute. Maybe someday I'll be making these for my own little girl. In the mean time they would be adorable gifts. Thanks for taking the time to show the tutorial!
Did you use your grandma's buttons for the center of the flowers?
Natalie- I did use one of my grandma's buttons for the white flower but I bought some others from JoAnn's for the rest. And I hope you are making these for your own little girl sometime soon!
Post a Comment